Spaces are a great tool to evolve and refine knowledge or to accumulate information on a given topic. You may also work collaboratively with your team to create user information on one of your products.
This is the last article of the short series of articles on blueprints. We will introduce some concepts and tools on how to create spaces in Confluence and work with them productively right from the start.
Standard Space Blueprints
The standard space blueprints help new users to get started quickly. Therefore they render a number of actions new users want to run on their new spaces.
Here are two examples of space homepages right after space creation:
Blank Space
![]()
Documentation Space
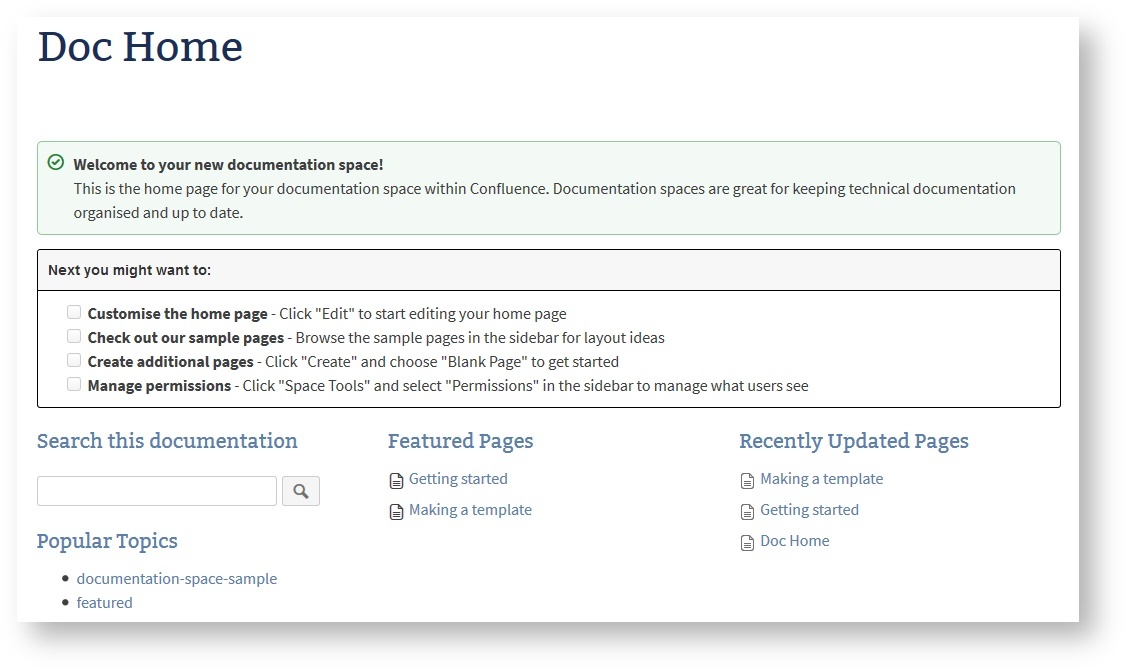
The upper half of both space homepages contains information for the space creator on what to do next. The lower half has a structure that is expected to be helpful during the lifetime of the space. It is usually the reason for selecting this type of space.
Having to remove the upper half is fine as long as you create a space only once in a while. But if you require to create spaces frequently, this is slowing you down heavily.
These spaces are designed to be used by beginners. Advanced users may define there own space blueprints. The following two sections introduce space blueprints based on the projectdoc add-on that you may install for free. Even the source code is available on Bitbucket so that you can fork them and adjust them to your specific requirements.
Note that you'll need a commercial or evaluation license of projectdoc to use the examples as is.
Workspaces
Spaces are a great tool to work collaboratively on a topic. Such spaces may only exist for a short period of time. Once the mission goal is accomplished, the new insights are extracted and copied to the relevant spaces of the wiki and the working space is either archived or discarded. We call these spaces workspaces.
Due to the fact that we work together on different topics, such spaces are created and removed quite often. These spaces have the same basic structure. There may be differences for different kinds of work - collect information about a topic, brainstorm on new products, run a spike on a technical problem, and so on. Each type of work may have its own space blueprint to get the team started quickly without much further ado.
Here is a simple example for a space a team uses to collect information about a topic. The space may or may not survive the end of the spike.
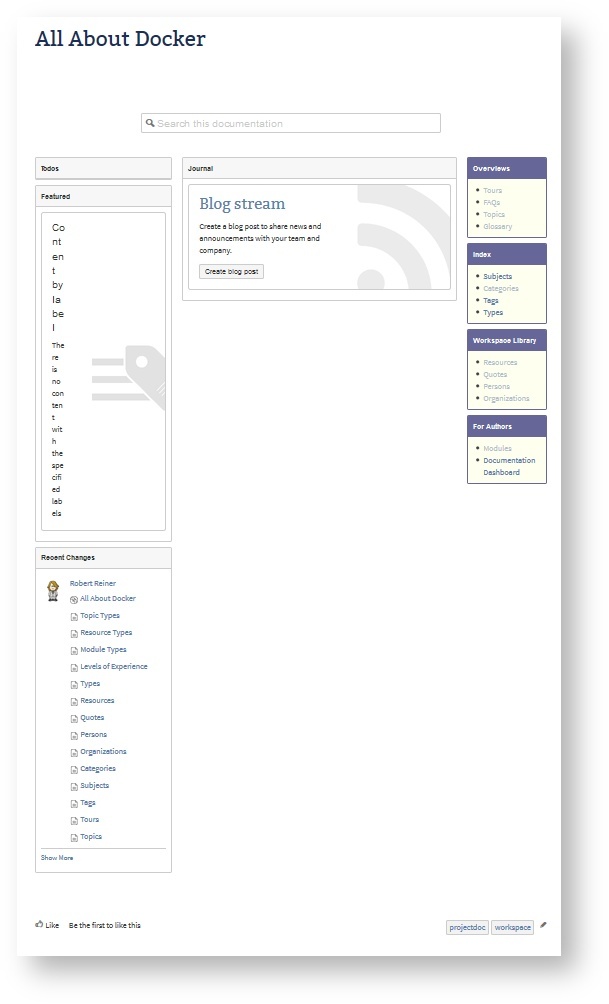 Resources, the glossary, references to experts are provided at the same location. Once the space is created the team is ready to add information. The important part is that the team starts working on the topic right away. They have a basic structure - they are familiar with - to add information collaboratively.
Maven Documentation Space
Here is another example that walks you through a space blueprint to create user documentation for Maven plugins.
Create the Space with the Help of a Wizard
First start the Maven Space Wizard and add the name and key to the space and the G:A:V coordinates to your released artifact (we assume that the add-on is already properly installed, i.e. has information on how to access the Nexus repository).
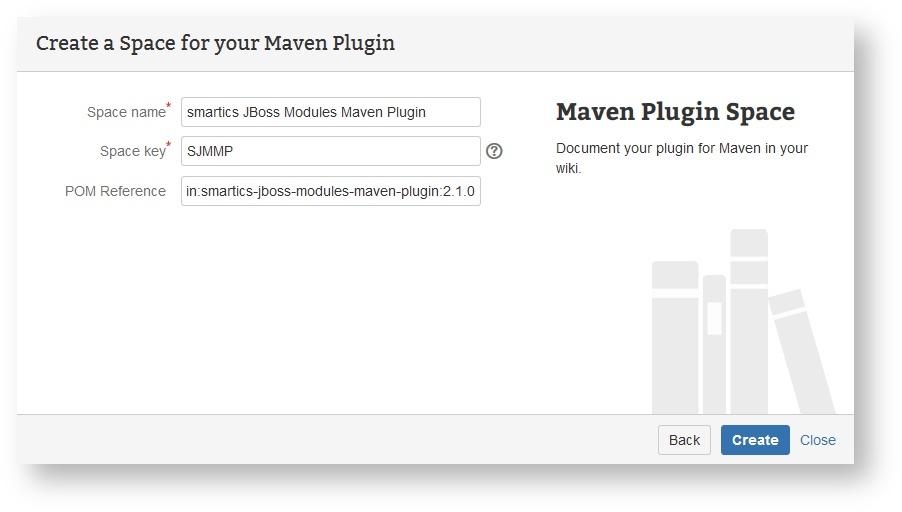
After hitting "Create" the generation process creates a collection of pages (besides the traditional homepages for document types created by projectdoc space blueprints).
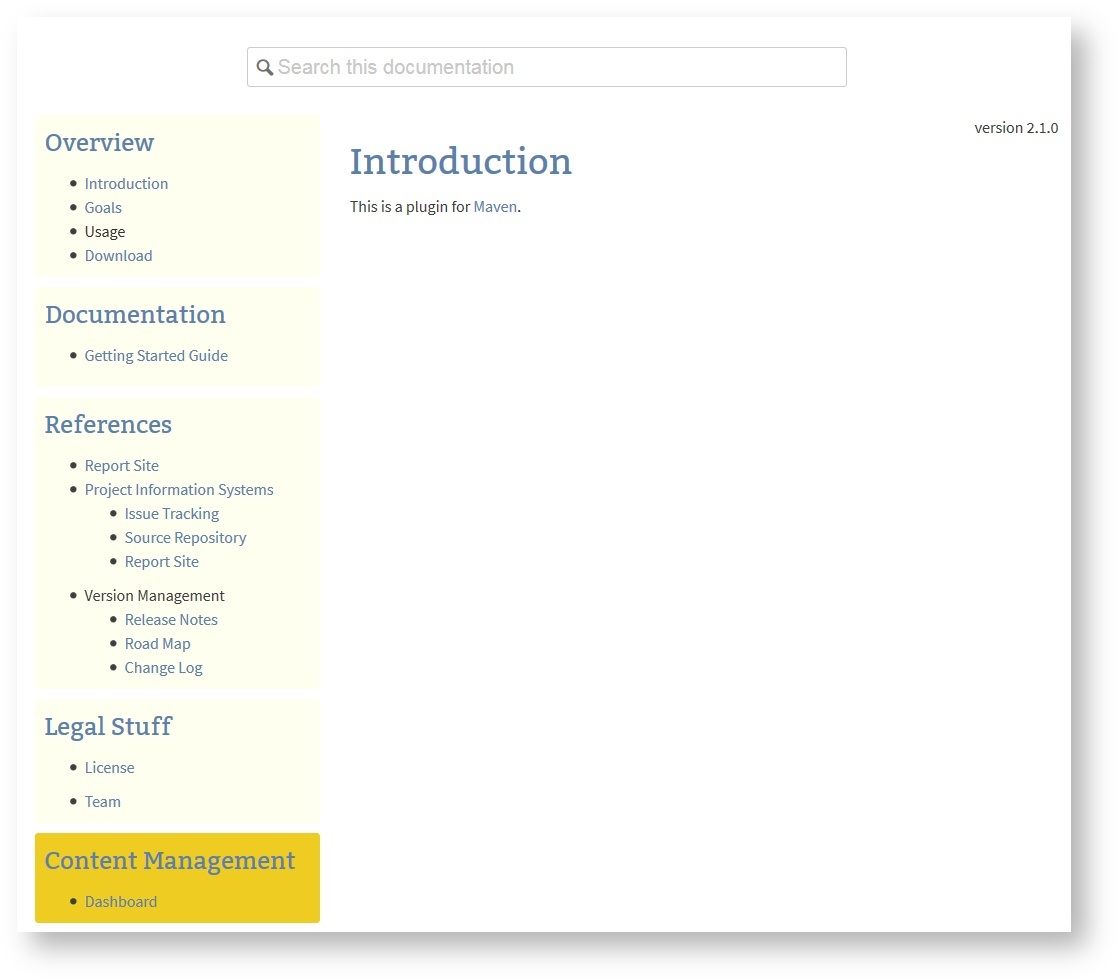
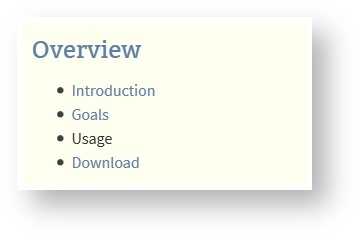
Space Homepage
Let's start with the homepage of the new space:
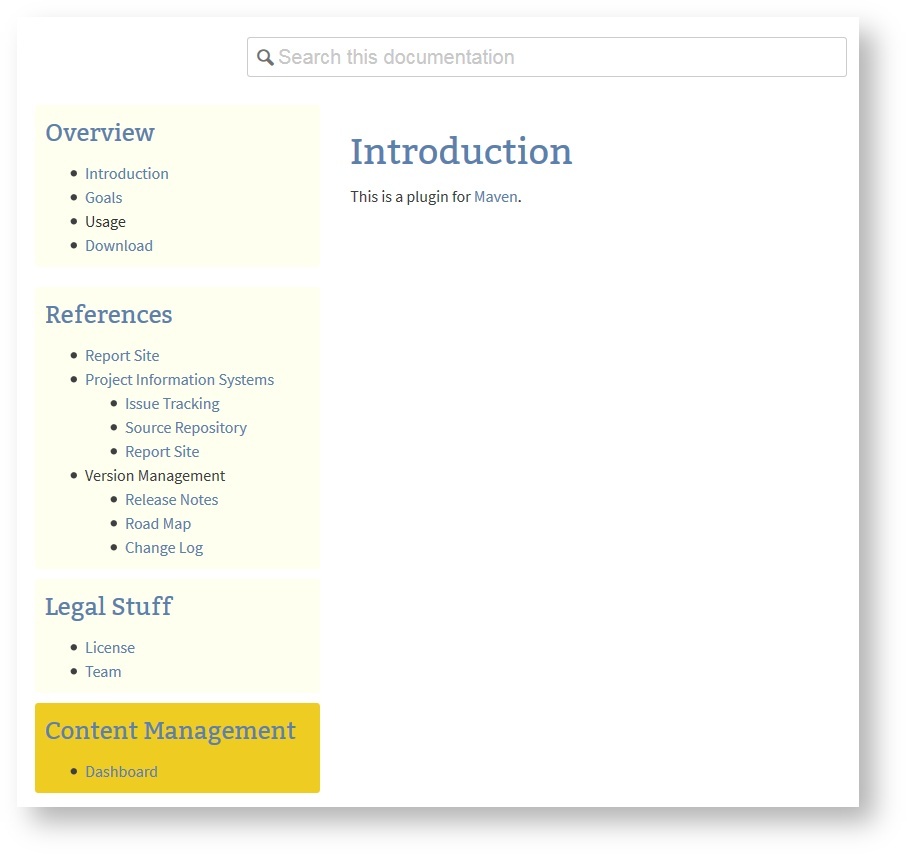
The space provides links to generates pages that inform users about goals and how to download the plugin.
Maven Goals Page
A space blueprint may create more than just on page. The goals page is generated from information found in the artifact's plugin descriptor.
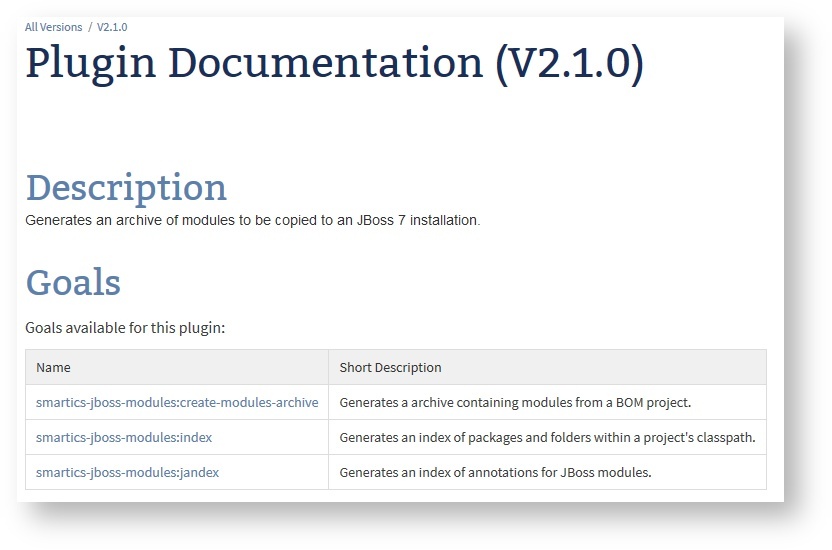
This plugin references three mojos that present their supported parameters by navigating to the mojo page.
Download Page
The space blueprint for Maven plugins also creates a page with information on how to download the plugin.
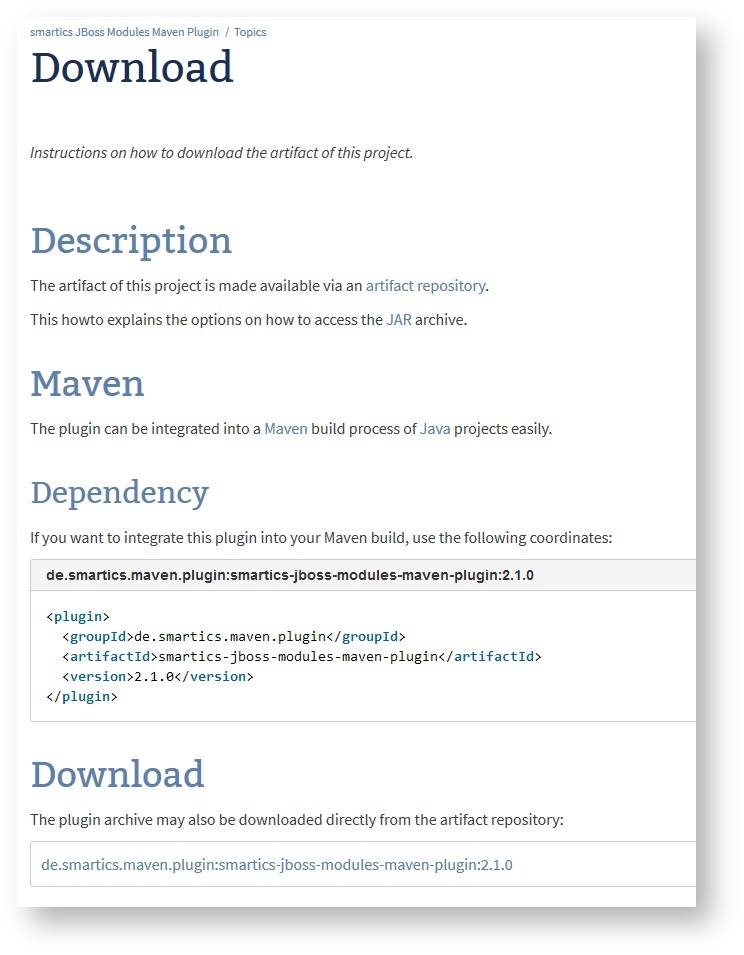
The download information is generated from the artifact's POM file. If the author switches the version to the next release, the links will update automatically at request time.
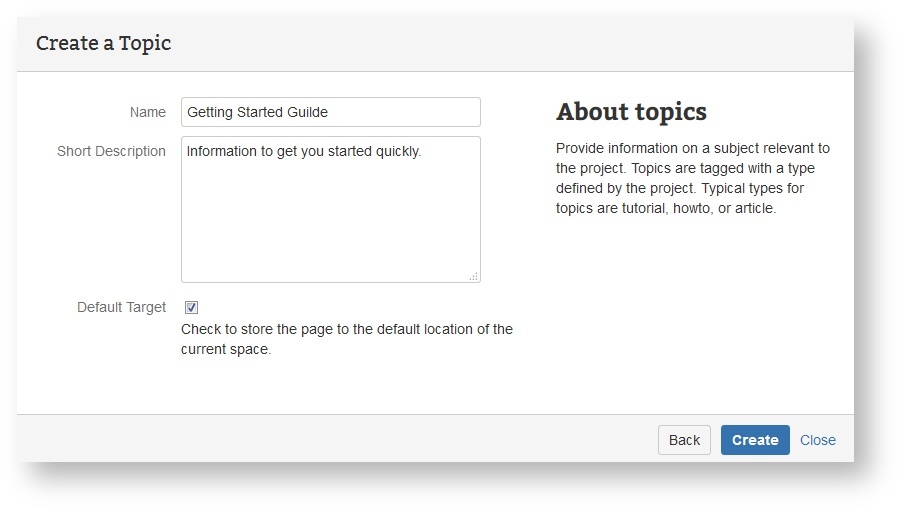
Tutorials, Howtos, FAQs
Now the team adds additional pages that contain information that cannot easily be generated. Think of tutorials, howtos, or FAQs.
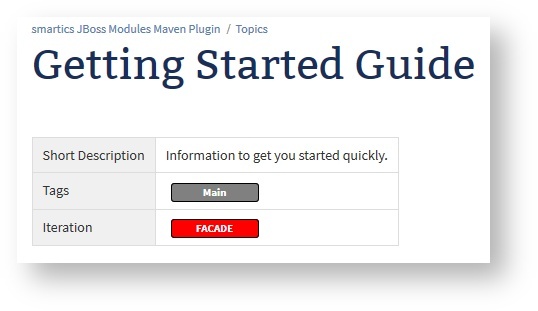
Once you add more information, additional links will appear. Here is an example with a "Getting Started Guide".
Tag the new document with the "Main" tag.
On the homepage of the plugin you'll find a new section named "Documentation" with a link to this new document.
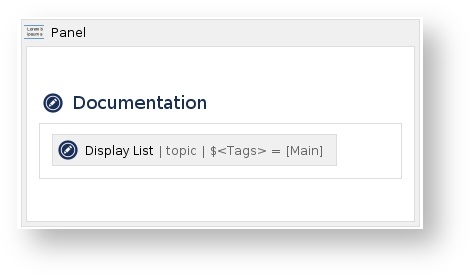
 Look behind the Scenes
How is this accomplished? Add a panel with a Section Macro that contains a Display List Macro. The "magic" is that if the display list macro does not have any hits, its content is empty. And if the content is empty, neither the section nor the panel will be rendered.
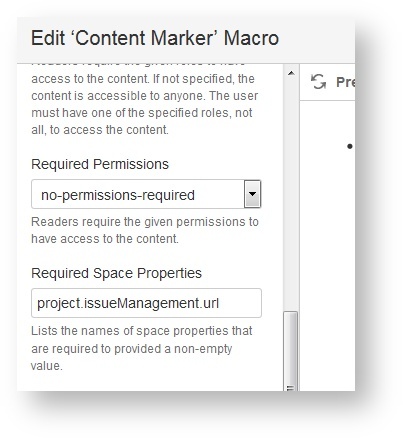
How can I render parts of a page only if some properties are set?
Use the Content Marker Macro to hide in the absence of a specific space property or permission.
External Links
Additional references are generated to point to the pages provided by a Maven site. These are links to resources outside the wiki.
If a page is not available, the macro can be configured to render the defunct link in an alarming red:
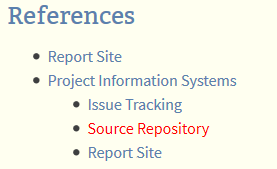
Links to non-existing Pages
You may also provide a link that activates, once a page is created. The Usage label is not a link, since there is no usage page in this space, yet.
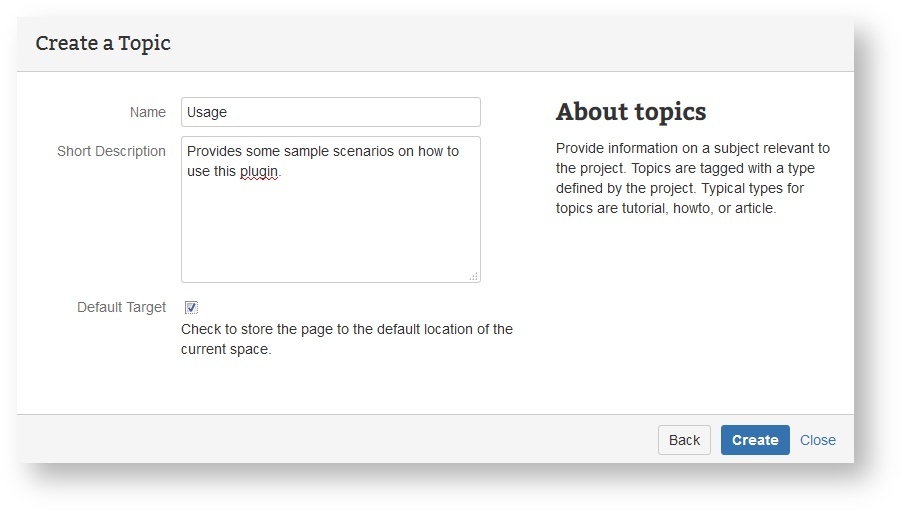
 Now create that
 Usage page:
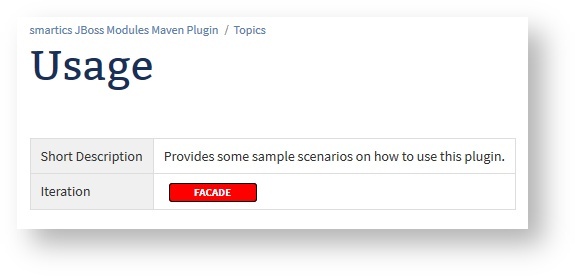
This is the new page rendered in the browser:
 A link to that page is rendered on the homepage (after reloading the page):
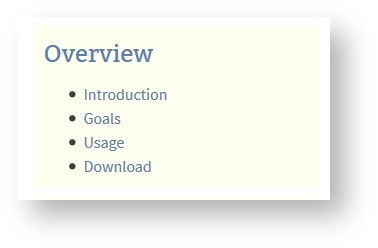
Conclusion
If you are creating spaces frequently it makes sense to invest on creating space blueprints that match exactly you needs. Teams may then create a space and start working on their task immediately. There is no need to manually adjust the created space and remove parts of the sample content.
In the previous article we have introduced a number of macros that support page blueprint designers. Now we have shown the Display List Macro, Section Macro, Content Marker Macro, and Wiki Link Macro in action.
Here are the take-away points of this short series of article on blueprints:
- Employ templates to support
- writers (concentrate on content not structure or layout)
- readers (familiarity with structure and layout for types of documents)
- Use Sections and other projectdoc macros to render only meaningful parts of your page
- Create spaces frequently
- Use blueprints that do not generate too much elements you have to remove after creation
- Use workspaces to collaborate on a topic
- Use wizards to create project spaces based on project metadata (like POMs or plugin descriptors)