Learn about properties and sections of a document.

Background Information

Doctypes

Doctypes define document properties and document sections. Each property may have a value or not, each section may have content or not.


To be precise, only the Doctype, the Name and the Short Description have to be defined. All other properties may have blank values.

The system only complains if the doctype is missing. The name should be present and it is good practice to have a short description.

If a property has no value or a section has no content, it is not rendered. Therefore a doctype is not a template that requires to be filled out. It is a tool to guide authors to create new documents based on the team's conventions.

Authors may add new properties and sections and remove all non-mandatory properties and all sections, if they think these do not apply. But since empty content is not displayed to the reader, it is good practice to leave them in the template. If in the future a new information has to be added, the author still has the guidance provided by the doctype to add it to the location defined by the team's convention.

Document Properties

If you want to add metadata to a given document, add it to the table within the Document Properties Marker Macro at the top of the page. This is a simple name/value list with an additional column that contains row controls.

While a document type requires a certain set of properties to be present, authors may add any property they require. But keep in mind that it is difficult to remember properties that are not standard. Further more it is sometimes very difficult to sense the meaning of document properties that are not documented.

Document Sections

Document sections are typically rendered with the Section Macro. This not only allows to not render a section with an empty body, it also allows to transclude information easily.

Blueprint Wizards

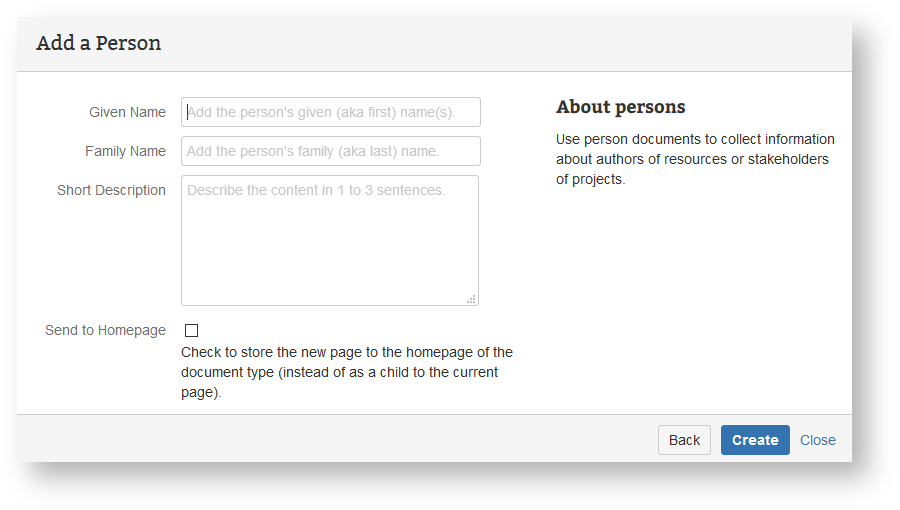
Doctypes not only provide a basic structure by the use of properties and sections. They also provide a wizard that supports authors to create documents. A wizard is a step by step guidance to collect information to be added to the new document.

Agile Documentation

Agile documentation proposes to have documentation that is

  1. valuable - has a stakeholder that is in need for the information
  2. essential - contains only the required information for the stakeholder
  3. timely - create just-in-time for the stakeholder

With this in mind it is important to be able to define the doctypes according to the team's requirements. Therefore all our doctype add-ons are available for free on the Marketplace and are published with an open source license on Bitbucket. Feel free to use them as a basis to define your own set of doctypes.

User Templates

If you need only minor changes to the doctypes, which especially do not require changes to the blueprint wizard, you may simply edit the installed templates of the free doctypes.

Please note that we are constantly working on the doctypes. Make sure that you understand the additional work you have to invest in developing your own version of the doctypes.

Hands-on Steps

Create a Person Document

  1. If there is a homepage for Person document on the workspace space: Delete it!
  2. Go to your My Workspace space
  3. Create a document of type Person
    1. Provide a name (given and family) and short description
    2. Check the 'Send to Homepage' box
    3. Click 'Create'
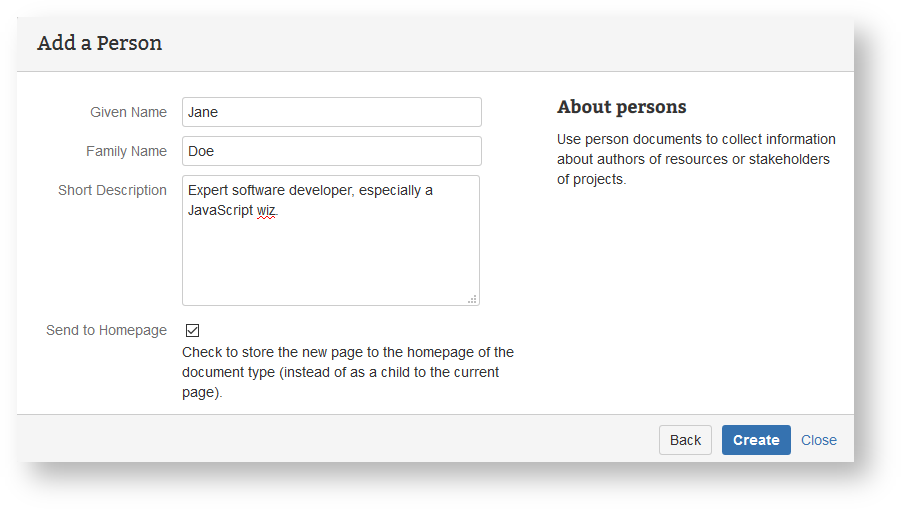
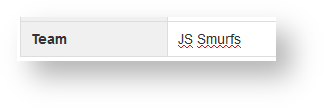
  4. Add a new property to the properties table
  5. Click 'Save'

Since the My Workspace space has no homepage for documents of type persons and the 'Send to Homepage' box has been checked, the document is stored on the person homepage of the delegate space.

Select Document Property

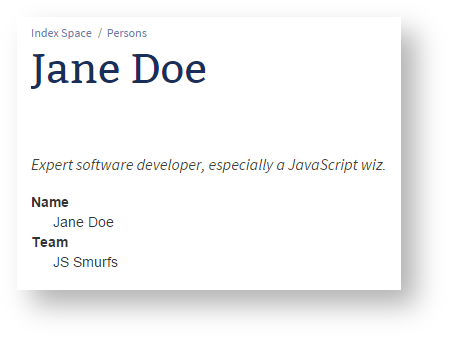
Now go to the person's homepage on the index space and change the properties selected from the documents.

  1. Go to person homepage of the index space
  2. Edit person homepage
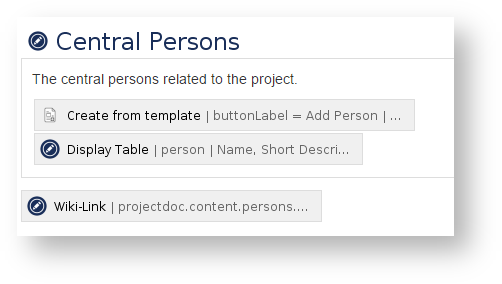
  3. Set the following properties to the select parameter of the Display Table Macro: Name, Short Description, Team
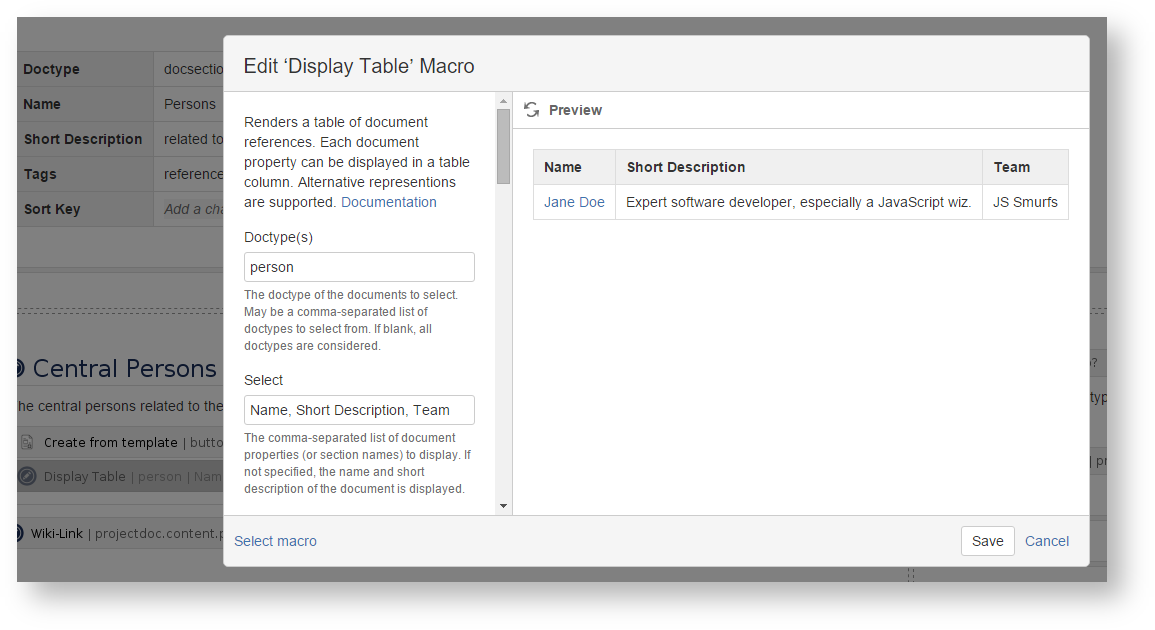
  4. Save the changes to the macro
  5. Save the page

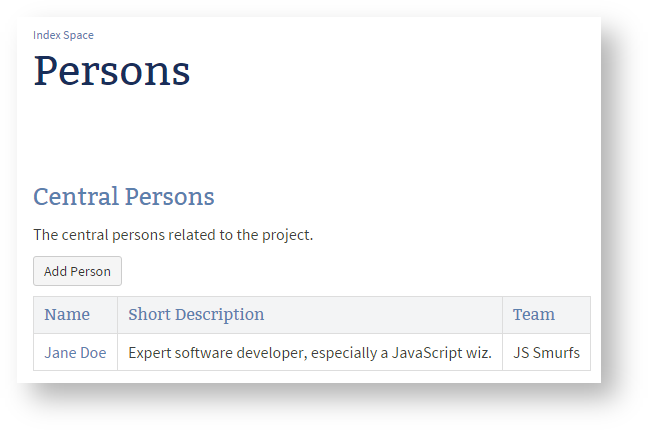
The additional column is shown on the homepage.

Next Step

Continue with the next step: The Workhorse Macros

Content


Previous Step Create a Workspace